
Introduction
Embarking on the journey of DIY Home Decor offers a unique opportunity to infuse your living space with personality and style. In this comprehensive guide, we’ll explore a myriad of budget-friendly and stylish do-it-yourself home decor projects, ranging from quick wins to intricate crafts.
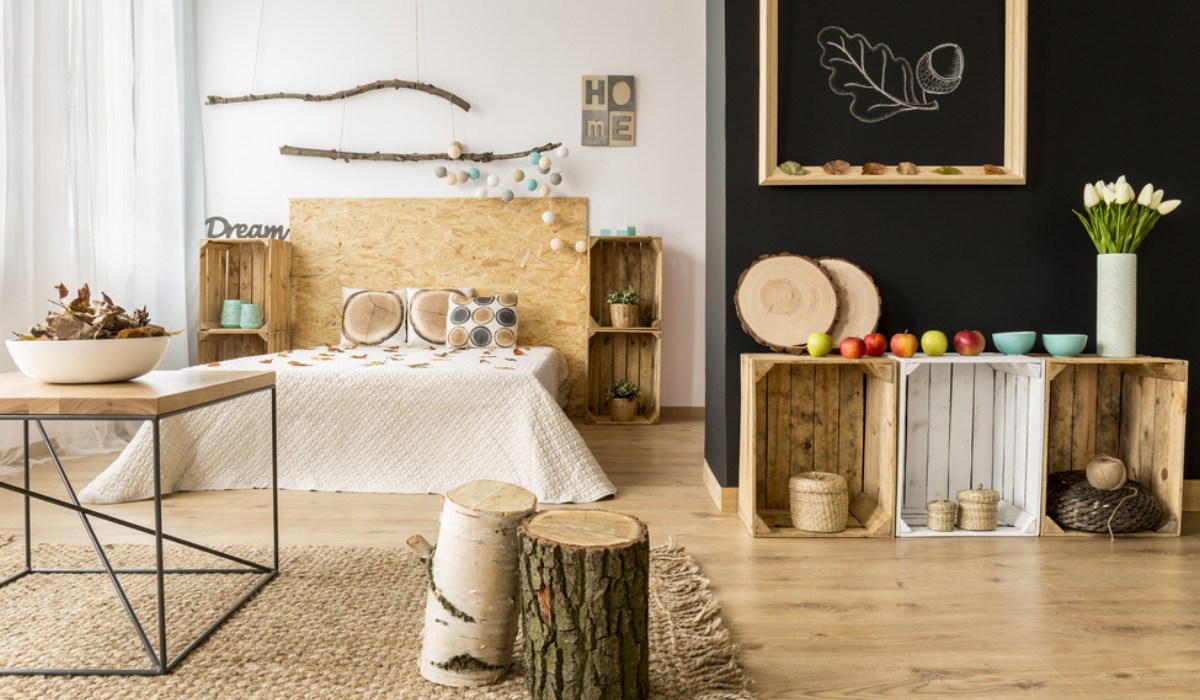
Upcycled Furniture Makeover: Transforming Old to Gold
Upcycling, the art of creatively repurposing and transforming old items into something new and stylish, has gained immense popularity for both its artistic appeal and environmental benefits. It’s a sustainable approach that not only breathes new life into discarded furniture but also reduces the burden on landfills. In this guide, we’ll explore the step-by-step process of upcycling furniture, providing you with the inspiration and knowledge to turn your old pieces into unique, eye-catching treasures.
Step 1: Choose Your Canvas – Selecting the Right Piece
Start your upcycling journey by choosing the right piece of furniture. Look for solid, well-built items with good bones, even if they appear worn or outdated. Thrift stores, garage sales, or even your own attic can be treasure troves for potential upcycling projects.
Step 2: Prep and Clean – Lay the Foundation
Before diving into the creative process, thoroughly clean and prep the furniture. Remove any dirt, grime, or old finishes using a mild detergent and a gentle scrub. Sanding the surface lightly will ensure better paint adhesion.
Step 3: Painting Magic – Choosing Colors and Techniques
Selecting the right paint color is crucial for the overall aesthetic. Opt for eco-friendly, low-VOC paints for an added environmental touch. Consider trendy colors or classic neutrals depending on your style. Experiment with distressing techniques like sanding edges or using a dry brush to achieve a vintage or rustic look.
Step 4: Distressing for Character – Adding Vintage Charm
To create a weathered appearance, distressing is key. Use sandpaper or steel wool to gently wear down corners and edges. This step adds character and personality to your upcycled furniture, giving it that sought-after vintage charm.
Step 5: Hardware Upgrade – Elevate the Details
Upcycling isn’t just about paint; consider upgrading the hardware for a polished finish. Swap out old handles, knobs, or hinges with stylish alternatives that complement the new look. This small change can make a significant impact on the overall aesthetics of the piece.
Step 6: Seal the Deal – Protective Finishes
To ensure the longevity of your upcycled masterpiece, seal the painted surface with a clear, eco-friendly sealant. This step protects the finish from wear and tear while adding a professional touch.
Thrift Store Treasures
Revamp your space with budget-friendly wall art by hunting for hidden gems at thrift stores. Old frames, vintage posters, or even discarded artwork can be transformed into something extraordinary. Don’t shy away from mismatched frames; a coat of paint can unify them for a cohesive gallery wall. This not only adds character to your space but also gives you the chance to infuse your personal style into your home without breaking the bank.
Pro tip: Look for unique textures, shapes, or intricate frames that can be repurposed for an eclectic and charming aesthetic.
DIY Canvas Painting
Unleash your inner artist with DIY canvas paintings. Purchase inexpensive canvas boards or even repurpose old ones by covering them with a fresh layer of gesso. Acrylic paints are cost-effective and versatile, allowing you to experiment with colors and techniques. If you’re not confident in your painting skills, try abstract or geometric patterns for a modern touch. This personal touch not only saves money but also ensures that your wall art is one-of-a-kind.
SEO hack: Affordable canvas painting ideas for home décor that won’t break the bank.
Framed Fabric Fantasia
Elevate your walls with a touch of fabric elegance. Visit local fabric stores or repurpose old textiles to create unique wall art. Stretch the fabric over canvas frames or secure them in thrifted frames for a textured and eye-catching display. The variety of patterns and textures available allows you to customize your wall art to match your home’s color scheme and style, all while keeping costs low.
Budget bonus: Choose remnants or scraps for an even more economical option, making your wall art a sustainable and stylish choice.
Recycled Materials Revolution
Embrace sustainability and creativity by crafting wall art from recycled materials. Old magazines, newspapers, or cardboard can be transformed into stunning collages or abstract masterpieces. Use decoupage techniques to adhere recycled materials to canvases or wooden boards, creating a visually captivating piece that’s both eco-friendly and budget-conscious.
Green living: Transform your space with recycled wall art that speaks to your commitment to the environment without compromising on style.
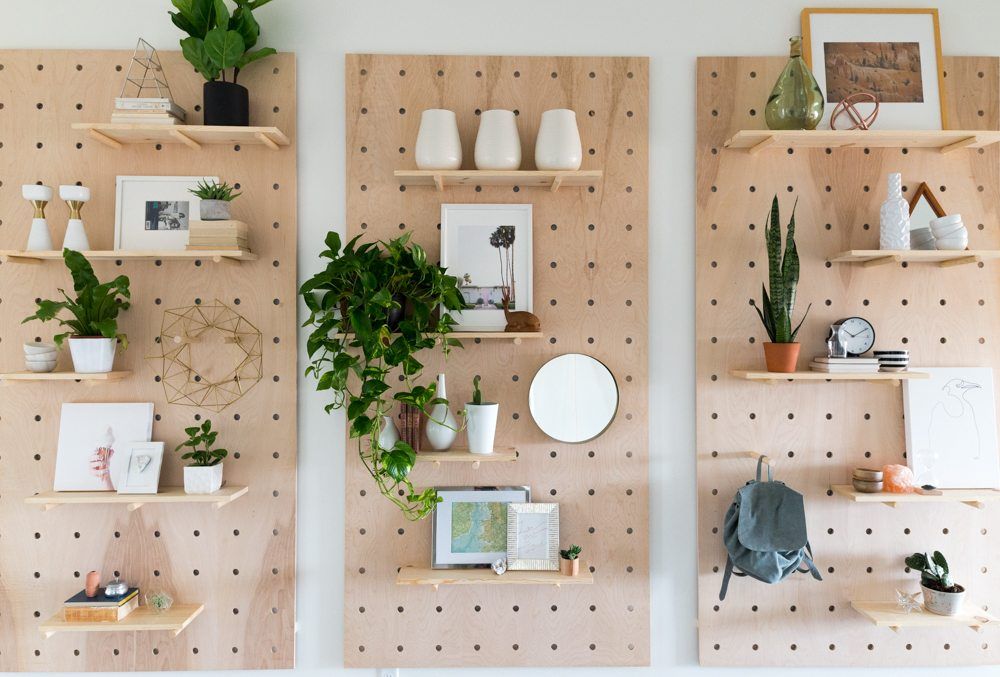
Gallery Wall Galore
Turn your wall into a curated masterpiece with a gallery wall. Mix and match framed photos, art prints, and DIY pieces for a dynamic and personalized display. Thrift stores often have a variety of frames waiting to be repurposed. This approach not only allows you to showcase your favorite memories but also creates a visually stunning focal point that won’t empty your wallet.
Gallery hack: Tips for creating a budget-friendly gallery wall that tells your unique story.
Personalized Throw Pillows: Elevate Your Space with DIY Charm
When it comes to home decor, it’s the personal touches that truly make a space uniquely yours. One easy and affordable way to infuse your personality into your home is by transforming plain throw pillows into personalized works of art. Let’s explore some creative ideas that range from simple sewing techniques to fabric painting and iron-on transfers, allowing you to express your style effortlessly.
Sewing Your Story: Simple Stitching for a Unique Touch
For those with a knack for sewing, this is the perfect opportunity to showcase your skills. Consider adding a border of colorful pom-poms or attaching fabric patches that reflect your interests. You can even experiment with different stitching patterns to create a visually appealing texture. The key is to let your creativity run wild, turning a basic throw pillow into a canvas for your sewing prowess.
Ensure your stitches are even and secure, and don’t be afraid to mix and match fabrics for an eclectic look. Whether you opt for a classic cross-stitch pattern or a more intricate design, the result will be a one-of-a-kind pillow that adds character to your space.
Painting Dreams: Fabric Painting for Artistic Expression
Unleash your inner artist with fabric painting techniques that breathe life into your throw pillows. Choose a color palette that complements your existing decor and use stencils or freehand painting to create unique designs. Geometric patterns, abstract swirls, or even personalized quotes—there are no limits to what you can achieve with a paintbrush and fabric paint.
To ensure longevity, use fabric-friendly paints that won’t fade or wash away easily. This method allows you to showcase your artistic flair while crafting a customized piece that seamlessly integrates into your home’s aesthetic.
Iron-On Elegance: Effortless Customization for Instant Appeal
For a quick and easy customization option, iron-on transfers are the go-to solution. Choose images, quotes, or patterns that resonate with you, print them onto iron-on transfer sheets, and apply them to your throw pillows with a hot iron. This technique is not only beginner-friendly but also offers endless possibilities for personalization.
Consider creating a theme for your pillows, such as travel memories, favorite quotes, or family photos. The result is a collection of throw pillows that tell your unique story and elevate the overall ambiance of your living space.
Mason Jar Magic: Elevate Your Home Decor
In the realm of home decor, few items exude the rustic charm and versatility quite like the beloved mason jar. These humble glass containers, originally designed for preserving jams and pickles, have evolved into stylish must-haves for the modern home. Let’s explore the enchanting ways you can incorporate mason jars into your decor, adding a touch of magic to every room.
Candle Holders: Illuminate with Elegance
Transform ordinary mason jars into captivating candle holders, casting a warm glow that radiates coziness. Begin by wrapping the jars with twine or lace for a touch of rustic elegance. Place a tea light or a small pillar candle inside, and watch as the flickering flame dances through the textured glass, creating a captivating ambiance. Group several jars of varying sizes together for a stunning centerpiece, or line them along a mantel for a charming, homemade feel.
SEO Tip: Illuminate your space with DIY mason jar candle holders for a rustic and cozy atmosphere.
Flower Vases: Bloom with Creativity
Bring the outdoors in by repurposing mason jars as delightful flower vases. Whether you opt for wildflowers from your garden or a carefully curated bouquet, the clear glass showcases the natural beauty of each bloom. Customize your jars by painting them in pastel hues or adding a distressed finish for a shabby-chic look. These charming vases make for eye-catching centerpieces at events or a refreshing addition to your kitchen windowsill.
SEO Tip: Embrace floral elegance with mason jar vases, a simple and stunning addition to your home decor.
Storage Solutions: Organize with Style
Embrace the practical side of mason jars by using them as stylish storage solutions. From kitchen staples like grains and pasta to bathroom essentials like cotton balls or q-tips, mason jars keep your items organized and easily accessible. Label them with chalkboard paint or printable labels to add a personalized touch. Stack them on shelves or arrange them in a decorative tray for a functional yet visually appealing storage solution.
SEO Tip: Maximize storage and style with mason jar organizers, a trendy and efficient solution for every room.
You may like it: Home Office Hacks: Creative Ideas to Enhance Productivity and Comfort in a Home Office Setup
Home Decor :Frequently Asked Questions (FAQs)
Q: Can I start DIY projects if I’m not creatively inclined?
Absolutely! DIY is for everyone. Start with simple projects, and as you gain confidence, you can tackle more complex ones.
Q: Are DIY projects cost-effective?
Yes, many DIY projects use affordable materials, making them a budget-friendly option for home decor.
Q: How do I choose the right DIY project for my space?
Consider your style, preferences, and the ambiance you want to create. There’s a DIY project for every taste!
Q: Is DIY home decor time-consuming?
It depends on the project. Some are quick wins, while others may take more time. Choose projects that fit your schedule.
Q: Can I personalize DIY projects to match my existing decor?
Absolutely! DIY allows for personalization. Choose colors and styles that complement your current decor.
Q: Where can I find inspiration for DIY home decor projects?
Explore online platforms, magazines, and even nature for inspiration. Your surroundings are a treasure trove of ideas.
Conclusion
In conclusion, DIY Home Decor is a journey of self-expression, creativity, and transformation. With the right guidance, anyone can elevate their living space with budget-friendly and stylish do-it-yourself projects.